4.2 - Removal
Depressurization
Depressurize the fuel system as recommended by the manufacturer.
Disconnecting Battery
Disconnect the battery or related fuses as per the manufacturer's recommendations.
Emptying Fuel Tank
Remove the fuel filler cap and empty the fuel tank in a recommended container.
*Note: Some filler necks or fuel tanks are equipped with a rollover safety valve.
The tank may not be emptied by the filler neck unless the rollover valve is removed.
Disconnecting Fuel Lines
Disconnect all fuel and vapour-related lines.
Disconnecting Electrical Connectors
Disconnect and inspect all electrical connectors including grounds.
When a wiring harness connector is supplied with the new pump, it MUST BE REPLACED.
Disconnect and Inspect Filler Neck
Disconnect and inspect fuel filler neck (if separate from the tank).
Support Fuel Tank
While supporting the fuel tank, loosen and remove the holding straps.
Replace straps if they are damaged or severely corroded.
Lower the fuel tank.
Remove All Dirt
Remove all dirt build-up over the tank to prevent contamination from entering during disassembly.
Removing Sender Assembly
Using suitable tools, remove the sender assembly.
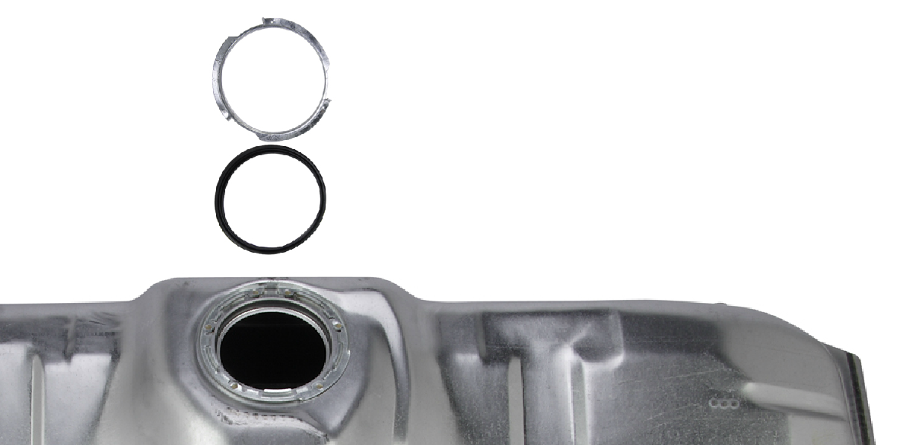
Inspect the fuel tank's locking retainer and sealing surface for damage or replace tank.
Inspect the lock ring and sealing gasket for damage and remember that they must be replaced upon re-installation.

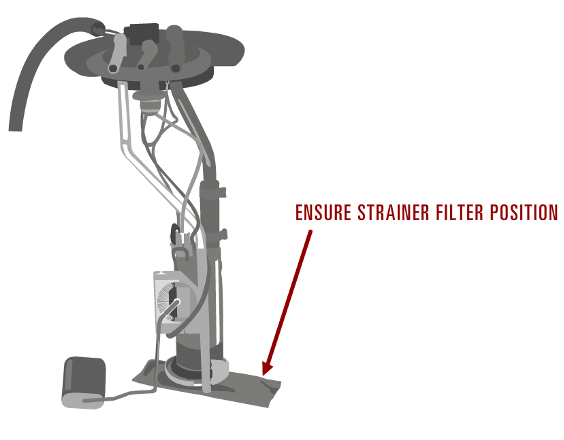
Visualize and mark the position of the sender and strainer for installation.

Contamination Inspection
Inspect the interior of the tank with appropriate lighting equipment.
Do not use incandescent lamps.
If rusted or damaged, replace the fuel tank.
If you find any contamination and dirt, the tank MUST be cleaned prior to fuel pump installation.
*Note: a damaged or corroded filler neck will cause tank contamination.